If you’re like most people, you probably have a few photo albums gathering dust, or even a shoebox of old family photos tucked away in a closet. But physical photographs are easily damaged or lost – and family photos are meant to be shared!
Making digital copies is one way to ensure you can create as many backups as you need, and every family member can share those precious memories quickly and easily...
How to Digitize Your Old Photos
First things first: you’ll need a scanner!
If you have a printer with a built-in flatbed scanner, that will work perfectly well – or alternatively, you could purchase a dedicated image scanner for less than $100 from any electronics or big-box store. (And before you begin, you may also want to grab a microfiber cloth or small can of compressed air for cleaning!)
Once you’ve gathered your equipment and photos, the scanning process is fairly straightforward. Of course, it can get a little boring, so turn on some music and perhaps even invite some family and friends to go through all the photos with you. Make it a party!
The following are some key guidelines to keep in mind:
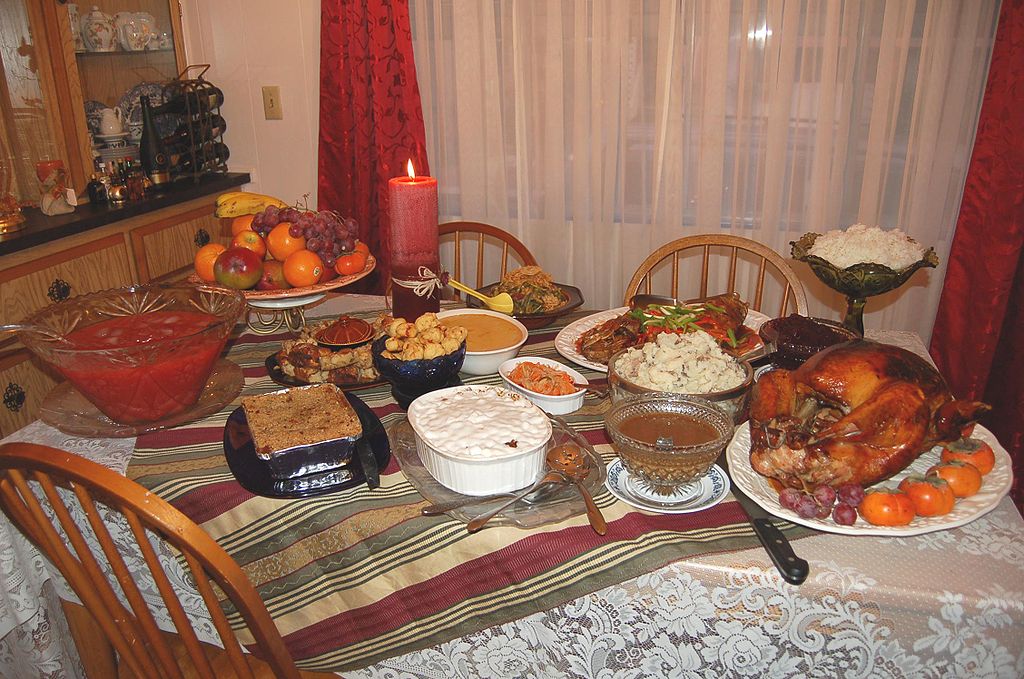
Be selective. Don’t feel obligated to preserve that photo of Grandma’s Thanksgiving dinner from 1999… Only scan the photos that mean the most to you.
 Image credit:Zeetz Jones, color modified (CC BY 2.0)
Break things down. Once you’ve taken inventory of the photos you want to digitize, you’ll know just how big of a project you’re facing. (Hint: if you intend to scan more than a few dozen pictures, you may want to divide the task into multiple sessions.) Then make sure to organize all your photos into an order that makes sense for scanning.
Clean carefully. Use a microfiber cloth or a clean, dry handkerchief to wipe dust, lint, and smudges off the scanner bed. The glass should be completely clean and dry before you begin – and you’ll want to wipe it again every so often after you start scanning to keep it in tip-top shape. If you have a can of compressed air, now would be a good time to use it to blow dust specks off your photos, too.
Double-check your settings. We recommend a quality setting of 300-600 dpi, and always scanning in color, even if your photos are black and white. To achieve the best quality for archival digital images, you’ll want to save each scanned photo in Tagged Image Format (TIF file type) – especially if you plan to digitally modify or enlarge them later. Otherwise, JPG format is acceptable as well.
Preview is your friend. Carefully position photos face down on the scanner glass, and then use the handy “Preview” or “Prescan” feature to make sure the images are straight, free of dust and lint, and fully visible with no parts accidentally cut off. Once you’re satisfied, go ahead and hit that “Scan” button!
Scan multiple photos at a time. If you prefer, you can scan photographs individually, but to save time, we recommend laying down multiple photos with approximately a quarter-inch of space separating them on each side. This way, you can scan 2-4 photos at once, and simply crop them later into individual files.
Preserve Your Memories Forever
Once your old photos are digitized, you can edit them to your heart’s content, send copies to family and friends, share the best ones on social media, create a slideshow for your next big family celebration… the possibilities are endless!
Most importantly, your treasured photographs deserve to be kept safe for years to come. The newly digitized images can be copied and backed up in multiple locations for safekeeping and sharing so you can breathe a huge sigh of relief.
And when it comes to digital storage and sharing, our award-winning AI-Powered Smart Storage Platform, Amber, gives you the best of both worlds! You can securely backup, store, and organize all your digital files (not just photos!) in the privacy of your own home… while also enjoying the ability to access and share remotely with Amber’s Personal Hybrid Cloud technology.
On top of that, Amber offers some amazing additional features like automatic camera roll backup, AI-assisted facial recognition organization (and search), buffer-free video streaming + 4K TV casting, multi-user support, multi-device file synchronization, and a WiFi router for blazing fast wireless speeds through every inch of your home.
Learn more about how Amber works here, and check out our FAQ page for additional information!